If you run virtual machines locally using QEMU/KVM, you should be using Linked Clones.
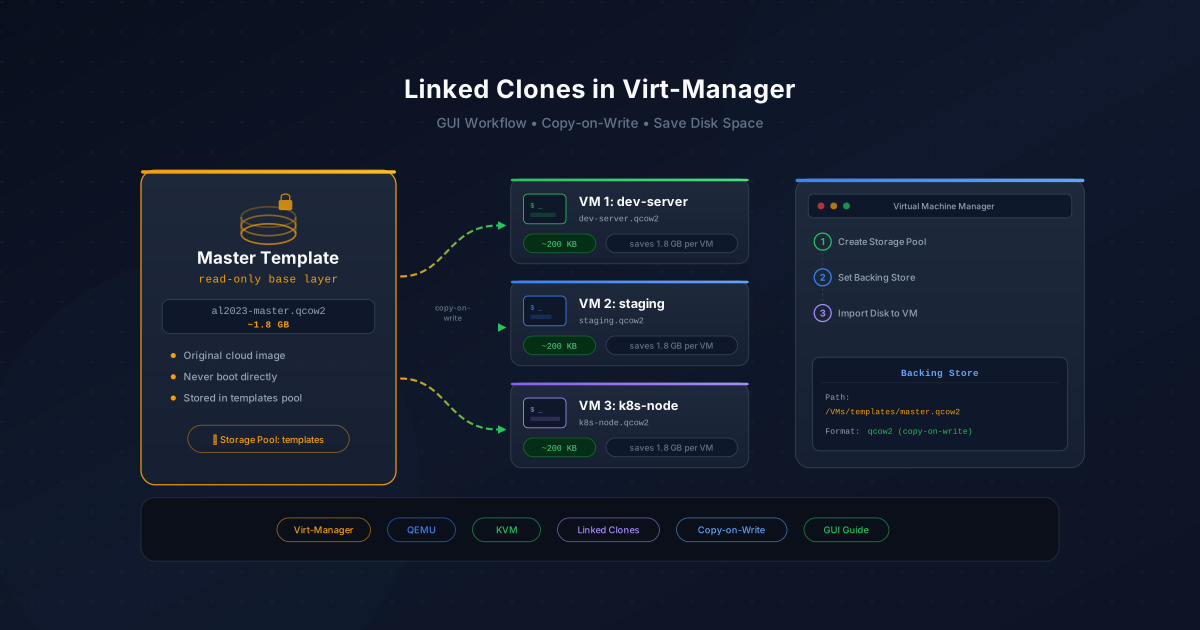
Instead of copying a 2GB+ master template file over and over (which takes time and wastes SSD space), a linked clone creates a tiny, empty file (often just a few kilobytes). It treats your master template as a read-only base layer.
- When the VM reads data, it reads from the master.
- When the VM writes data, it writes only to the new, tiny clone file.
Creating linked clones via the command line is simple (qemu-img create -b ...), but trying to do it entirely within the Virt-Manager GUI can be incredibly confusing. There is no simple “Linked Clone” button.
Here is the exact workflow to achieve this using Virt-Manager’s Storage Pools and Backing Stores.
The Secret: Storage Pools#
Virt-Manager is very strict about where files live. To create a linked clone in the GUI, both your master template and your new clone must live inside recognized Storage Pools.
If you just leave your master template in your ~/Downloads folder, Virt-Manager’s UI will not let you select it as a backing file.
Step 1: Create a Template Pool#
Let’s create a dedicated, organized space for our master OS images.
- Open Virtual Machine Manager.
- Go to Edit (in the top menu bar) and select Connection Details.
- Click the Storage tab.
- Click the
+(Add Pool) button at the bottom left. - Name the pool
templatesand set the Type todir: Filesystem Directory. Click Forward. - Set the Target Path to a clean directory (e.g.,
/home/youruser/VMs/templates) and click Finish.
Now, use your regular Linux file manager (Nautilus, Dolphin, etc.) to move or copy your master .qcow2 image into that new folder.
⚠️ Crucial Warning: Never boot a VM directly from this master template! If the master file gets modified, any linked clones relying on it will break instantly. Keep this file pristine.
Step 2: Generate the Linked Clone#
Now that Virt-Manager knows where your templates live, creating the clone is easy.
- Still in the Connection Details -> Storage window, select your default active pool on the left (usually called
default, pointing to/var/lib/libvirt/images/). This is where you want the actual VM to live and run. - Click the
+(New Volume) button located above the volume list. - Configure the new volume:
- Name:
my-new-vm-disk.qcow2(or whatever you prefer) - Format:
qcow2
- Name:
- Look at the bottom of this window and expand the Backing Store section.
- Click Browse… next to the backing store path.
- In the window that pops up, select your
templatespool from the left menu. - Click on your master
.qcow2file and click Choose Volume. - Click Finish.
Virt-Manager will instantly generate the tiny, linked clone disk inside your active pool. It acts as a lightweight delta layer pointing directly to your master template!
Step 3: Build the VM#
Finally, let’s attach our new linked clone to a VM.
- Close the Connection Details window.
- Click the New Virtual Machine button (top left icon).
- Select Import existing disk image and click Forward.
- Click Browse… and select the
my-new-vm-disk.qcow2you just generated in your active pool. - Finish the setup wizard by allocating RAM and CPUs.
That’s it! You have successfully deployed a space-saving linked clone entirely within the Virt-Manager GUI.
What’s Next?#
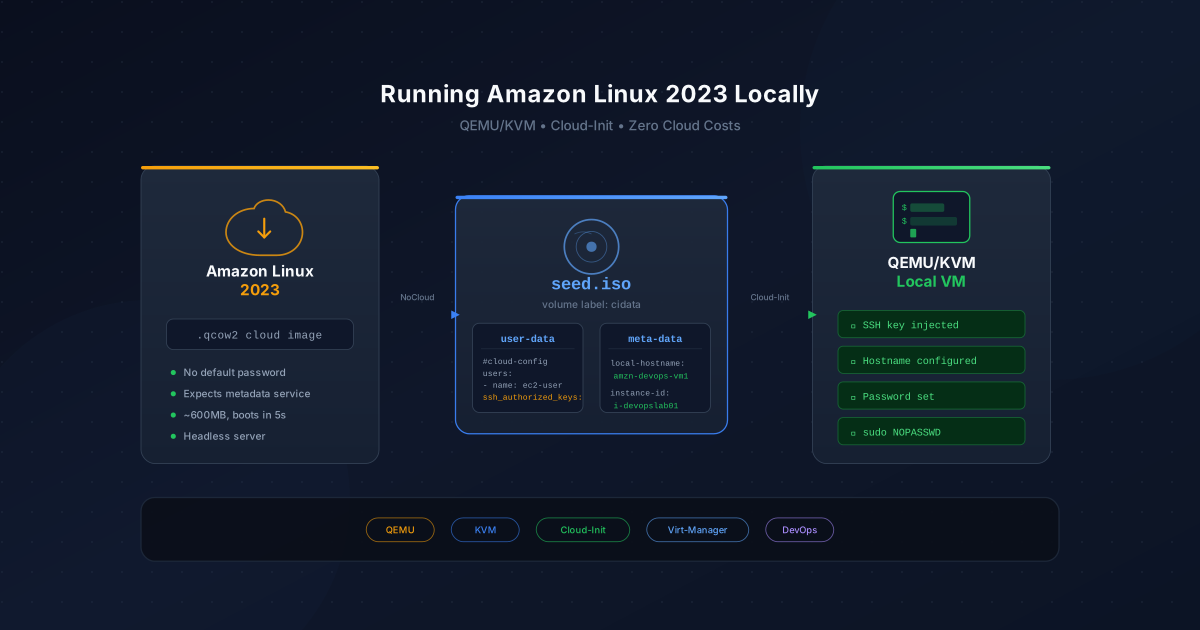
If you are using this method to provision cloud images (like Ubuntu Cloud or Amazon Linux), check out my full guide on How to Run Amazon Linux 2023 Locally with QEMU/KVM and Cloud-Init to learn how to inject your SSH keys and configure your instances on first boot!